A deck adds value to your home and provides an ideal space for relaxing and entertaining. However, if not properly waterproofed, water can seep through the boards and cause mold, mildew, and rot.
A simple test is to drop a few drops of water on the deck surface. If the drops bounce, it means that the deck is still protected and doesn’t require a new coat of waterproofing.
Clean the Surface

Before you apply any waterproofing product to your deck, it should be completely clean. This means sweeping away loose debris and using a
power washer to blast off dirt, mold, mildew and any other residue. If possible, do this in the spring to give your deck a fresh start for the summer.
Once you’re done, allow the deck to dry thoroughly before proceeding with your waterproofing process. If you have tarps covering nearby shrubs
or plants, be sure to remove them as soon as the deck is fully dry to avoid creating a greenhouse effect and harming delicate foliage.
Any food spills or grease should also be cleaned ASAP. If you have Trex composite decking, you can easily wipe it down with a hose or sponge and
warm soapy water. Be sure to rinse with soft water, as hard water can leave deposits that lighten the surface of your deck. For stubborn stains, try
treating them with oxygen bleach.
Install a Drainage System

A deck is a great place to entertain guests or enjoy a nice afternoon, but water damage can wreak havoc on your yard. If your deck isn’t properly waterproofed, it can become a breeding ground for mold and wood rot. If you want to avoid these problems, read on to learn more about the best way to waterproof your deck.
A drainage system under your deck shields the space from moisture damage, allowing you to use it as a living area or office. It also protects your home’s siding and foundation from moisture. A Trex RainEscape system, for example, uses troughs that run between joists and empty into gutter downspouts. These troughs look like paneled roof sections, so visitors won’t even know there’s a drainage system in the ceiling.
These downspouts move water away from the deck to a drain area on the ground. You can also use butyl tape in areas where a downspout won’t fit, such as on angles or cantilevered sections of the deck.
Apply a Waterproofing Membrane
A waterproofing membrane prevents water from soaking into wood and damaging it. It can be applied to the surface of a deck or under the deck itself.
A membrane is typically made from EPDM rubber, which is durable and long-lasting. It also offers UV protection for the wood beneath it.
Before applying a membrane, you should thoroughly clean the deck. You can use a garden hose or a pressure washer to rinse away dirt, oil, and debris. Then, hose down the deck to flush it and remove any soap residue that could interfere with adhesion.
You should wait several days before sealing the deck so that it can dry completely. It’s best to apply the sealant during warm, dry weather to ensure it absorbs into the wood and dries properly. You should also wear protective clothing, safety goggles and rubber gloves when working with deck waterproofing materials to avoid skin irritation. You should also cover any nearby plants with a drop cloth to protect them from the chemicals used in the sealant.
Seal the Surface

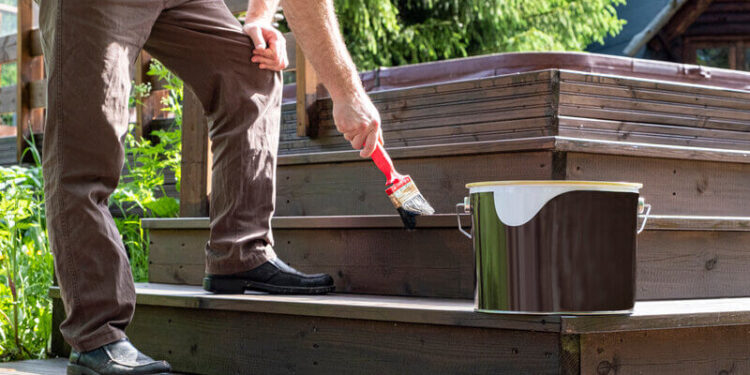
The final step in this process is to apply a protective sealant to the deck. Again, be sure to use a product that is specifically designed for roof decks. Using a paint roller or brush, spread a moderate coat of the sealant over the wood surface, working with the grain of the wood. Allow the first coat to dry completely for at least 24 hours before applying a second thin layer.
Choose a waterproof product that is truly impenetrable, not just water-resistant. The difference is that waterproof products will keep water in liquid form out, whereas water-resistant products will simply hold up to a certain amount of moisture before it penetrates the surface.
Make sure to complete all steps of this project over a period of a few days to avoid accidentally trapping moisture on the surfaces that you are cleaning and sealing. Be sure to also wait for the surface to dry before walking on or putting anything, such as furniture or rugs, back onto it.


